Report Customizer
The report designer is fully integrated with the Microsoft VisualStudio IDE. We have created a customizer to assist in an easy to use designer where you can modify or create new reports for use in Masterpiece Manager V10. In this topic, we introduce the main parts of the designer in section reports. The tutorial will go in depth of the different areas and what they do on the Masterpiece Solutions V10 customizer.
CKEditor Toolbar
Toolbar Characteristics
The Toolbar is the section located at the top of the editor window. It contains menu buttons that give you access to various functions of CKEditor. All buttons are grouped according to their function and include both simple operations (like basic text styling or formatting).
This is what the editor toolbar looks like (yours may be a little different depending on where you are using the tool reports or online CMS tool):

The CKEditor toolbar buttons are illustrated with meaningful icons. If, however, you are not sure what functions they perform, hover the mouse cursor over the buttons to see a tooltip with the name of the function.
Create Custom Labels
To enter a new sale, click on SALES in the menu on left and then then on NEW TRANSACTION to open the new sale window or TRANSACTION LIST to open the sales list first. It may be useful to go straight to a new sale if your customer is standing over your shoulder. This way, no possible sensitive information can be seen on the transaction list (like customer info, discounts, sales price, etc).
-
Manual height means height of page and width means you can set custom width of the page.
-
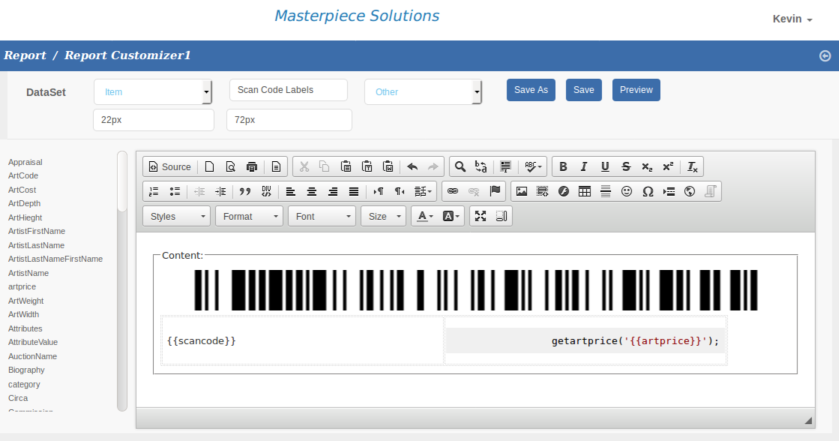
For example if your price wall card label is 200px X 200px on each page then you will need to select the 'Other' option in the report type above the ckeditor.
-
Select the 'Other' option there will be an option for custom height and width.
-
After adding custom height and width in the input text field then create custom label design in the ckeditor.
-
Select your dataset on the left side and choose dataset fields for whatever data you want to show on the report.
-
Provide the specific height and width for content div.
-
After the report design, save report with a report name.

